https://www.youtube.com/watch?v=JQsR1pQOdq8
Check if file exists on FTP server in SSIS
In this blog we will see how we could use SSIS check if file exists on ftp server. If you are new to SSIS check this blog first on how to check a file using SSIS.
Let us see how we could do that in action:
For this demonstration we are going to check if a file named SampleFile.log exists in ftp.dbandb.com/public_ftp/incomming ftp site.
As you can see in the screen cast below we could confirm the file exists using FileZilla client.

Let us first define variables to make our work easier.

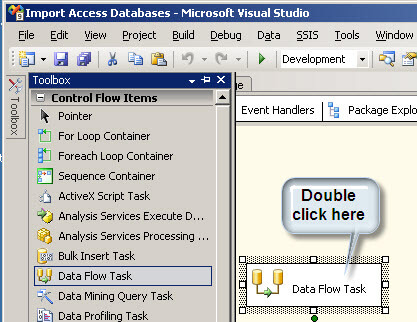
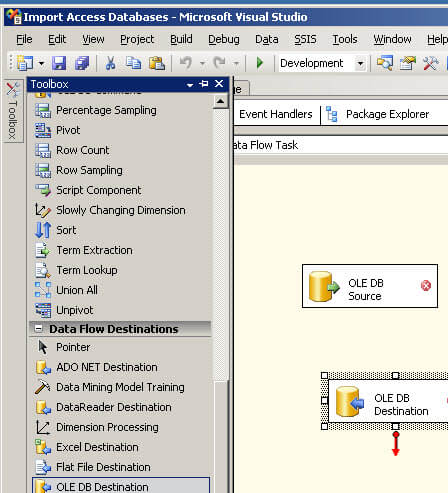
Add a script task to your Control Flow

Add filename, password and userName variables as ReadOnlyVariabls and isFileExists variable as ReadWriteVariables of a script task.

Click on Edit Script… button and add the following script to the Main() function.
For this demonstration we are going to check if a file named SampleFile.log exists in ftp.dbandb.com/public_ftp/incomming ftp site.
As you can see in the screen cast below we could confirm the file exists using FileZilla client.
Let us first define variables to make our work easier.
Add a script task to your Control Flow
Add filename, password and userName variables as ReadOnlyVariabls and isFileExists variable as ReadWriteVariables of a script task.
Click on Edit Script… button and add the following script to the Main() function.
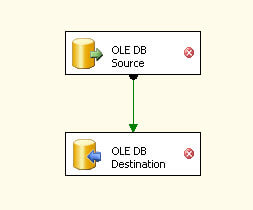
That should do the work but to test it work let us attach an empty Data Flow and modify its precedence constraint

Double click on the green arrow and the following expression @[User::isFileExists]==TRUE and click on okay

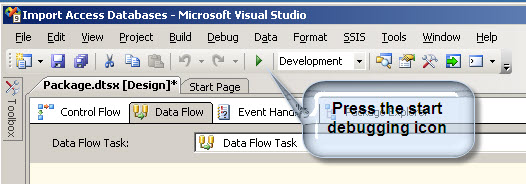
Now if we run the package we could see that the Data Flow Task Executes.

If you have several files to check put the script task in a loop and assign your file names to the fileName variable and add your other work flow after that.
Double click on the green arrow and the following expression @[User::isFileExists]==TRUE and click on okay
Now if we run the package we could see that the Data Flow Task Executes.
If you have several files to check put the script task in a loop and assign your file names to the fileName variable and add your other work flow after that.